
You can clean a coffee grinder in about 15 minutes by removing old oils and grounds to keep your coffee tasting fresh. It’s a simple task that requires only basic supplies and a few minutes of your time. You should check your manual before you start, as some high-end burr grinders have specific parts that should never touch water.
Supplies for cleaning your grinder
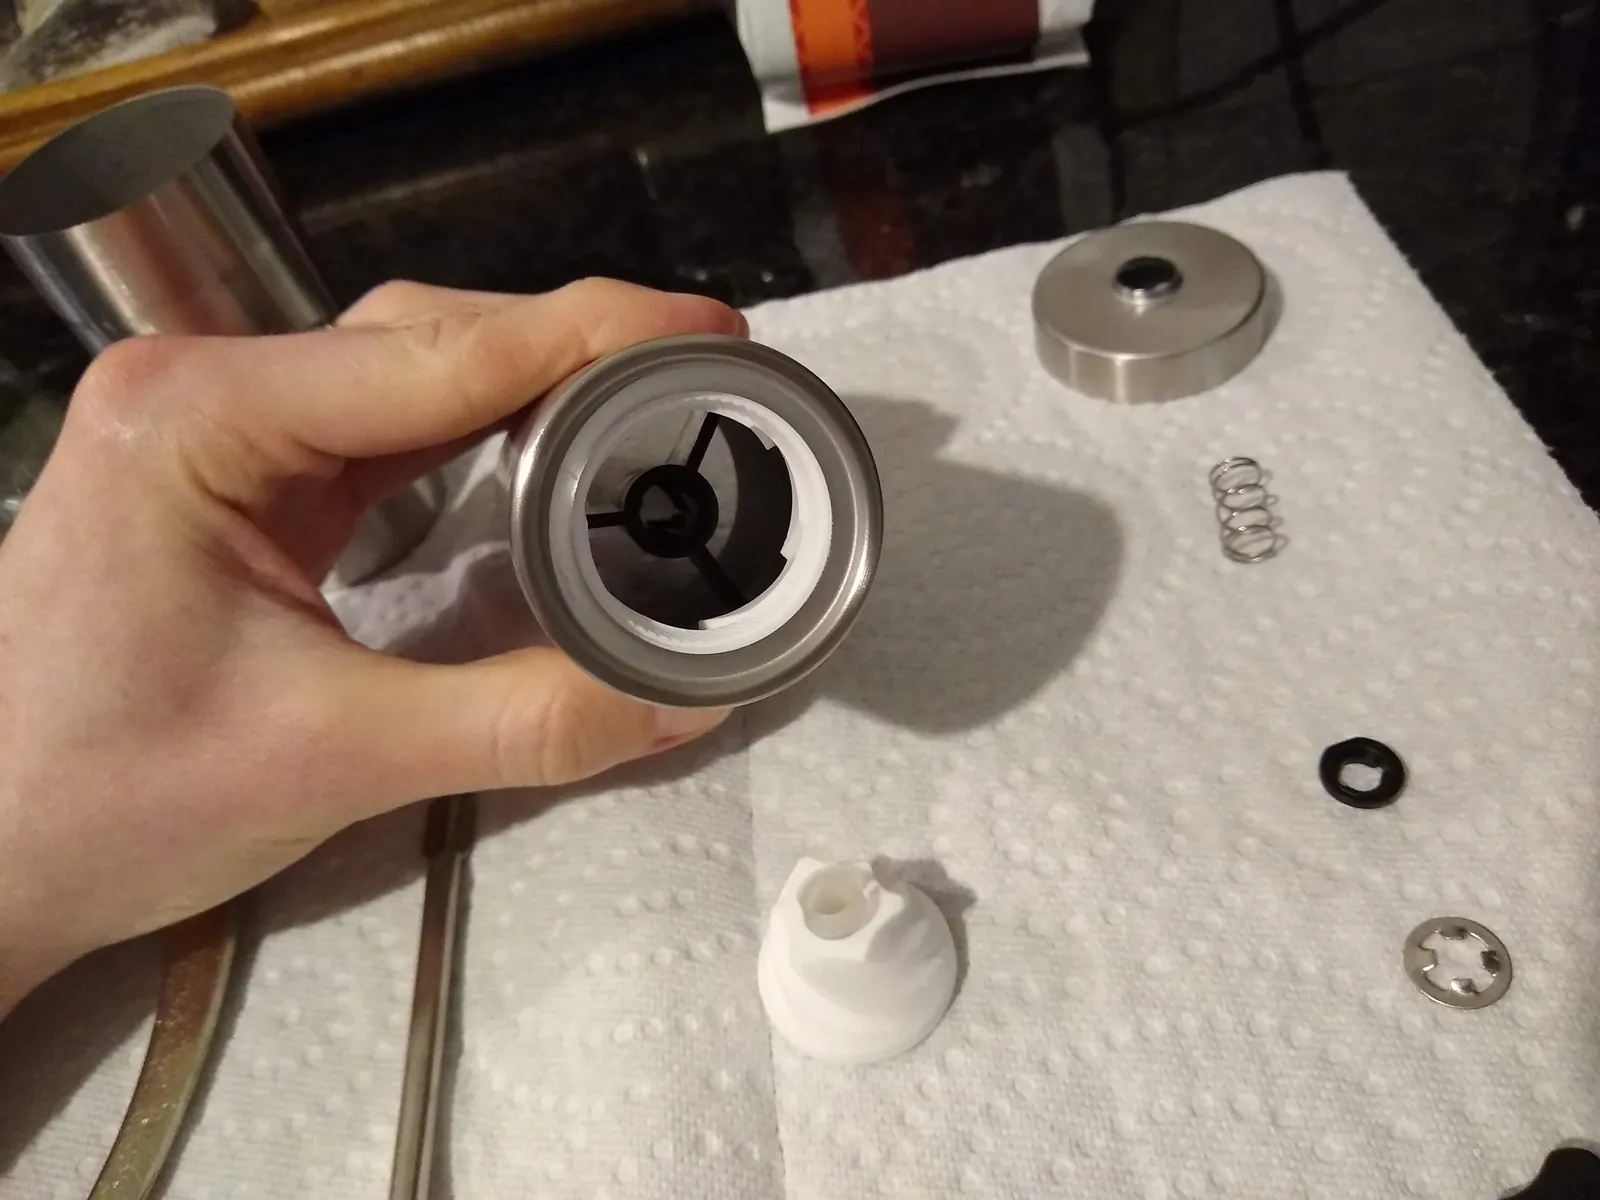
You need a few specific items to remove stale oils and coffee dust safely. If you don’t have these tools, don’t use harsh chemicals or abrasive metal scrubbers, as these will damage the internal burrs or the finish of your machine.
| Item | How much | Why it’s needed | A substitute |
|---|---|---|---|
| Soft brush | 1 unit | Removes loose dust | Clean paintbrush |
| Microfiber cloth | 1 unit | Wipes away surface oil | Paper towel |
| Cleaning tablets | 1 packet | Absorbs internal oils | Uncooked white rice |
| Vacuum hose | 1 attachment | Cleans the hopper | Compressed air can |
| Toothpick | 1 unit | Cleans tight corners | Wooden skewer |
Things to prepare before you begin
Unplug the power cord completely to prevent the motor from starting while your fingers are near the burrs. A live machine can trigger with a accidental bump to the power switch, risking severe injury.
Empty all whole beans from the hopper into a sealed container to avoid wasting coffee. Stale beans left in the hopper absorb moisture and odors, ruining your next brew.
Place a large towel on your counter to catch any spilled grounds or small screws. A single lost screw often halts the reassembly process for days.
Consult the manufacturer’s cleaning guide to see if the burrs are removable without voiding your warranty. If you force a locked adjustment collar, you risk stripping the internal threads.
Avoid using water on the internal burrs unless the manual says they’re stainless steel. Carbon steel burrs develop surface rust within minutes of exposure, which permanently alters the flavor profile of your coffee.
Steps to clean your coffee grinder
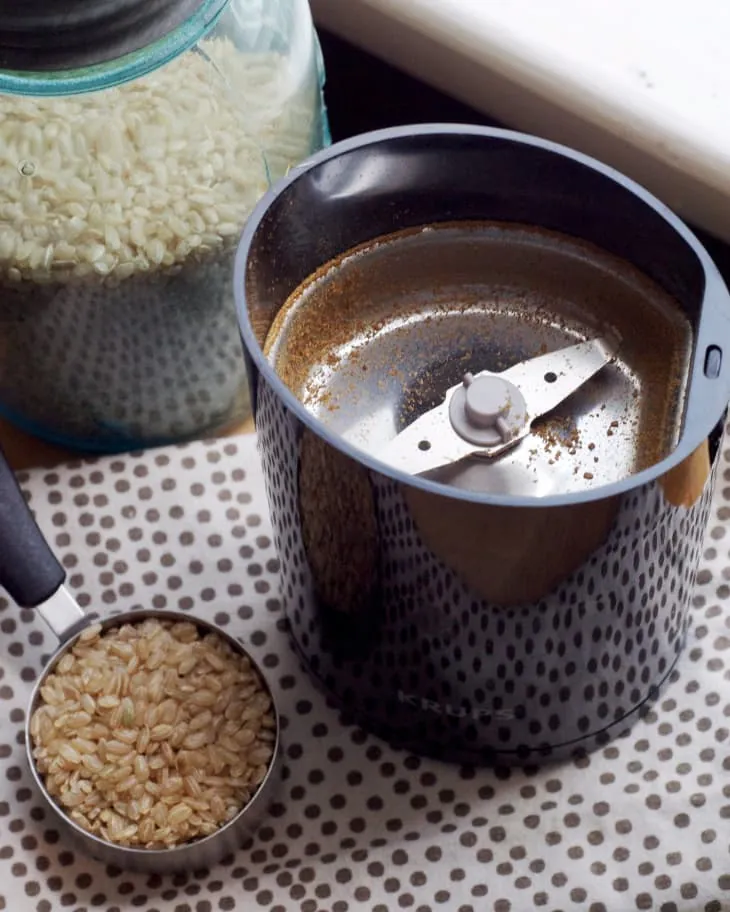
- Remove the hopper by twisting it counter-clockwise or pressing the release button, then wipe it clean with a dry microfiber cloth to remove all oily residue.
- Use a vacuum hose attachment to suck out any loose grounds hiding in the grind chamber, holding the nozzle about 1 inch away from the opening.
- Brush the visible burrs gently with a soft brush to dislodge stuck particles, moving in a circular motion until no loose coffee dust remains on the metal.
- Clear the chute where coffee exits by inserting a thin toothpick to gently nudge out any packed grounds that are blocking the flow of coffee.
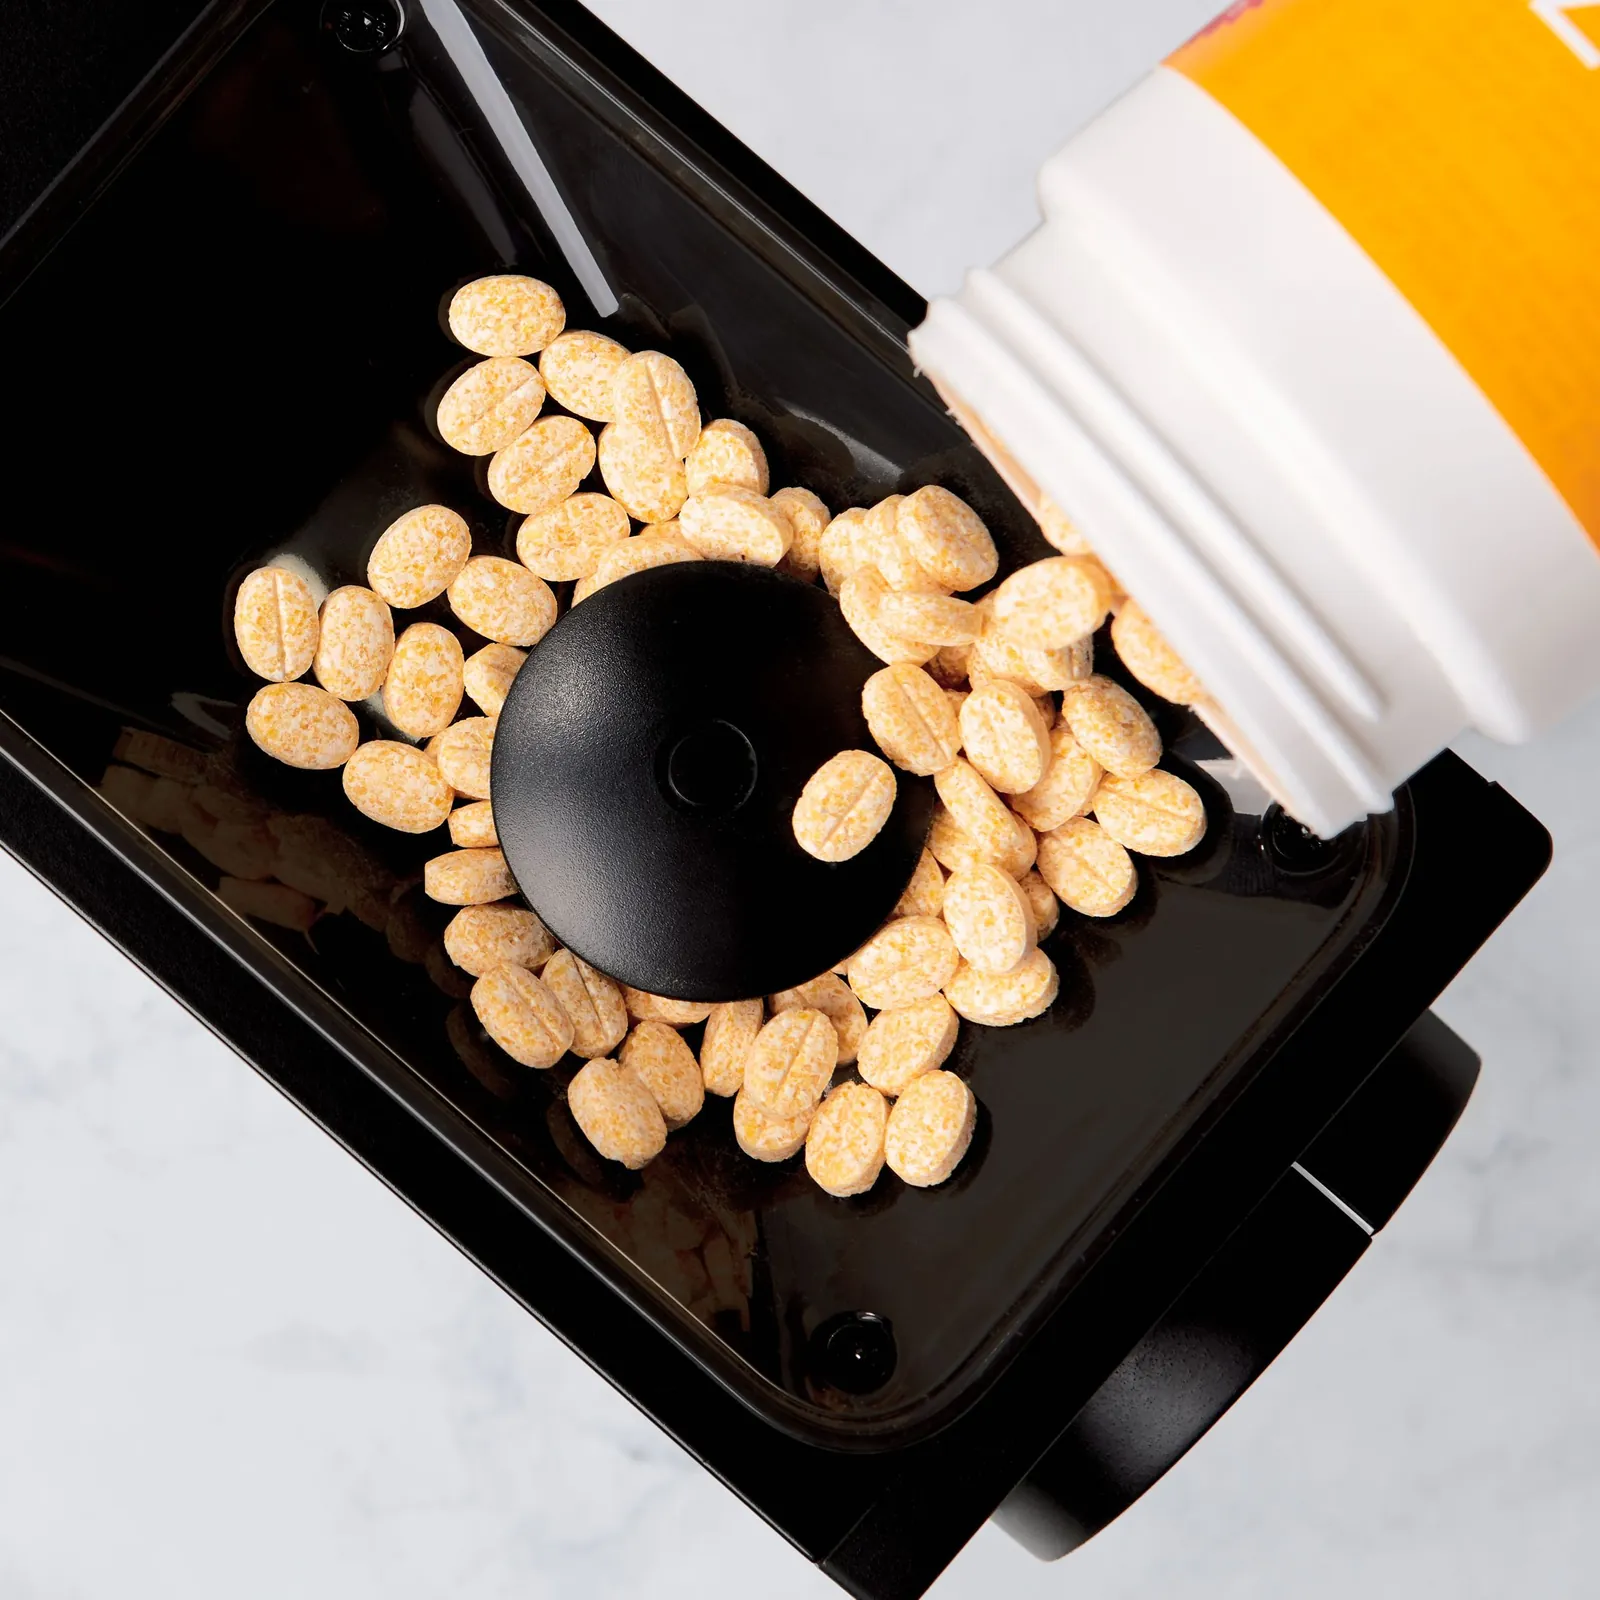
- Pour a single dose of coffee cleaning tablets into the empty hopper and run the grinder on its medium setting until the tablets are fully processed.
- Discard the resulting white dust, as this contains the absorbed oils from the internal components that you can’t reach with a brush or cloth.
- Grind a small amount of cheap, sacrificial coffee beans through the machine to remove any remaining tablet residue before you grind your regular coffee.
- Wipe the exterior of the grinder with a damp cloth, followed by a dry one, to remove any fingerprints or dust from the machine housing.
How to verify your cleaning success
Your grinder is clean when you can see the metal surfaces of the burrs clearly without any dark, caked-on grounds blocking the teeth. If you still see brown, oily patches after brushing, you must repeat the cleaning tablets step. A successful clean will result in a machine that sounds slightly quieter and produces a more consistent grind size.
If the grinder makes a high-pitched grinding noise or feels stuck, stop immediately and check for a pebble or foreign object that might be trapped between the burrs. Never force the adjustment dial if you feel resistance, as this can break the plastic teeth inside the adjustment mechanism.
Troubleshooting common grinder issues
| What happened | Why | What to do |
|---|---|---|
| Motor humming | Stuck burrs | Unplug and clear |
| Uneven grind | Dull burrs | Replace the burrs |
| Static buildup | Dry air | Use water mist |
| Bitter taste | Old oils | Clean with tablets |
| Blocked chute | Packed grounds | Clear with toothpick |
If your motor hums without turning, a stray pebble or hard bean fragment is likely jammed between the burrs. Unplug the unit immediately to avoid burning out the motor winding. If you find no debris, the capacitor may have failed, which requires professional repair.
For uneven grinds, check your burr alignment before buying replacements. If the burrs show visible nicks or rounded edges under a magnifying glass, they’re finished. Most sets last for about 500 pounds of coffee before losing their edge.
When using water mist for static, use exactly one drop of water per dose. Too much moisture causes grounds to clump, which clogs the chute and leads to inconsistent extraction. If the taste remains bitter after cleaning, check your water temperature; it’s likely too high.
When to perform this maintenance
You should clean your grinder every two weeks if you use it daily to ensure the oils don’t turn rancid. The frequency depends heavily on how much coffee you drink and how dark your roast is.
If you use oily, dark-roasted beans, you’ll need to clean the machine more often because those oils coat the burrs quickly. These residues act like a magnet for stale dust, which can ruin the flavor of your next cup. If you only use light-roasted, dry beans, you can usually wait an extra week between cleanings.
Most users make the mistake of waiting until the motor sounds sluggish, but by then, the flavor is already compromised. If your shots taste bitter or metallic, clean the burrs immediately. If you brew more than three cups a day, move your schedule to a ten-day cycle. Always keep a log of your last cleaning date on a note near the machine.
Frequently asked questions
Can I use rice to clean my grinder?
Yes, uncooked white rice works as a mild abrasive to remove oil, but use it sparingly because it’s harder on the motor than specialized tablets. Only use dry, white rice and never use brown or instant rice, which can be too hard or gummy for the internal gears.
Is it safe to wash parts in the dishwasher?
No, most grinder parts are made of plastic or carbon steel that will warp or rust in a dishwasher. Always wash removable parts by hand using warm water and mild soap, then dry them completely before reassembling the unit to prevent moisture buildup.
How long does a deep clean take?
A deep clean takes about 15 minutes for most home models if you have your tools ready. If you have a commercial-grade grinder with many screws, allow 30 minutes to carefully remove and replace the casing without losing small parts.
Why does my coffee taste sour after cleaning?
The sour taste usually comes from residual cleaning tablets or soap that didn’t get flushed out properly. Grind 20 grams of cheap beans through the machine to ensure all cleaning agents are completely removed before you brew your next cup of coffee.
Does it matter if I leave beans in the hopper?
Yes, leaving beans in the hopper exposes them to air and light, which causes them to lose their flavor and release oils faster. Always store your beans in an airtight container in a cool, dark place and only add the amount you need for the day.
What happens if I get water in the motor?
Water in the motor causes immediate electrical shorts and permanent damage to the internal wiring of the unit. If you accidentally spill water into the machine, unplug it immediately, let it dry for at least 48 hours, and don’t attempt to turn it on until it’s bone dry.
Conclusion
Once your machine is dry and reassembled, you’re ready to brew a fresh cup. You’ll notice the difference in flavor immediately, as those bitter, stale notes are finally gone. Try grinding a small amount of beans to season the burrs, then enjoy the bright, clean taste of your favorite morning roast.