
You can keep your coffee tasting fresh by cleaning your coffee grinder burrs at least once every month using a stiff brush and a dry cloth.
Essential items to clean coffee grinder burrs
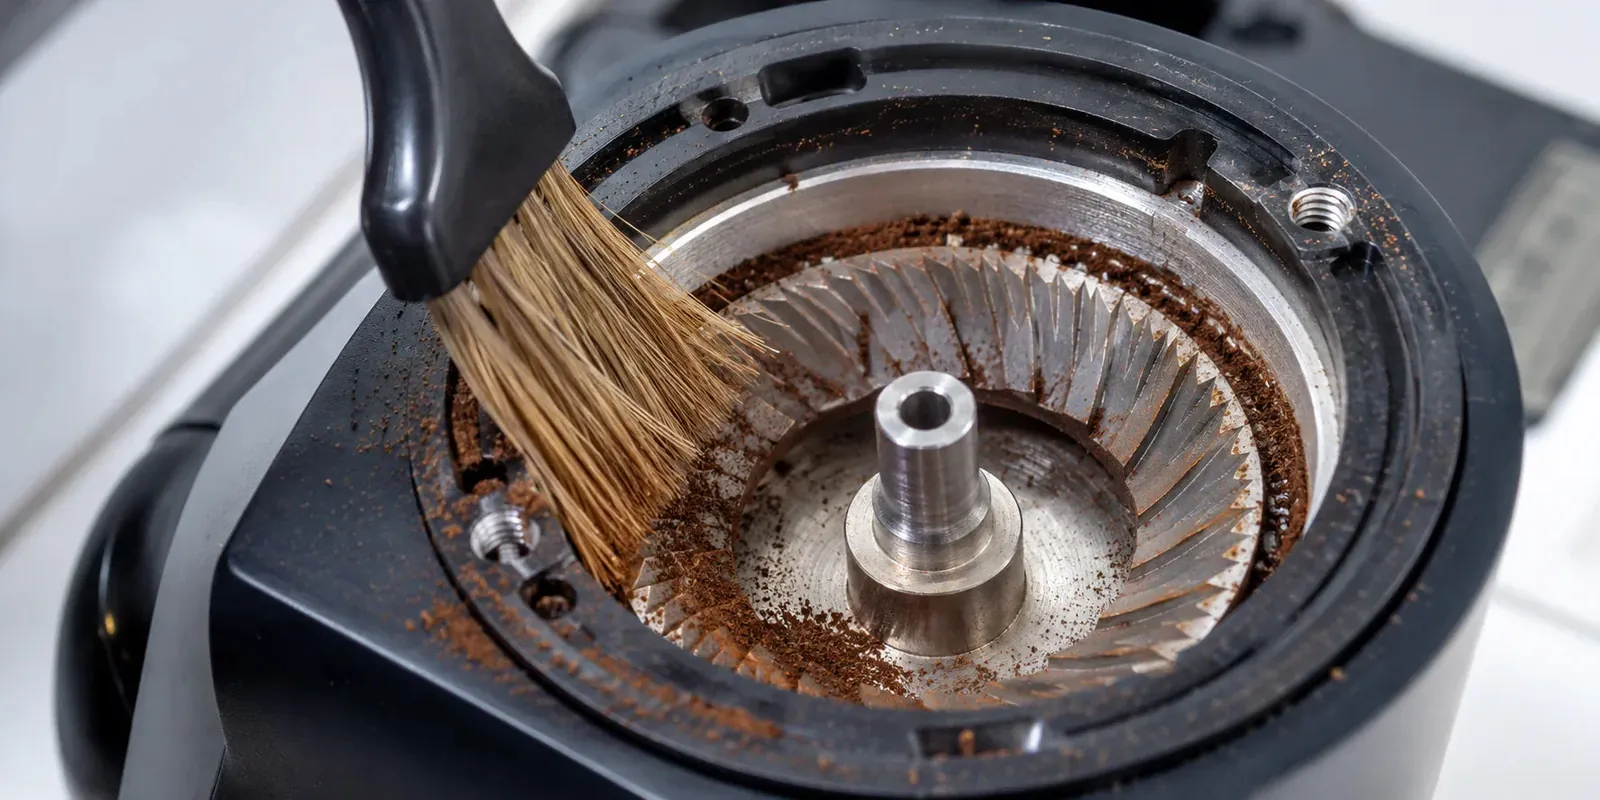
To keep your equipment in top shape, you need the right supplies on hand before you start the process. Having these items ready prevents you from needing to search for them while the machine is partially disassembled.
- A soft, stiff-bristled nylon brush or a dedicated grinder brush.
- A clean, dry microfiber cloth or paper towels.
- A vacuum cleaner with a hose attachment for loose grounds.
- A small bowl or container to hold any removed screws.
- A screwdriver that fits your specific model’s adjustment collar.
- Specialized coffee cleaning pellets for a quick finish.
Always use a brush specifically designed for coffee equipment to avoid scratching the metal surfaces. If you don’t have a brush, a new, clean toothbrush works as a suitable substitute.
Never use water or liquid detergents on the burrs or internal housing. Moisture causes immediate oxidation on steel components, which ruins the flavor of your next brew and can seize the motor.
If your grinder features ceramic burrs, handle them with extreme care; a single drop onto a hard countertop will chip the edges. For specific torque requirements or disassembly warnings, check the official user manual provided by your grinder manufacturer.
Steps for Deep Cleaning
- Unplug the grinder from the power source to prevent accidental activation.
- Remove the hopper by twisting it counter-clockwise, then empty any remaining beans into a sealed container.
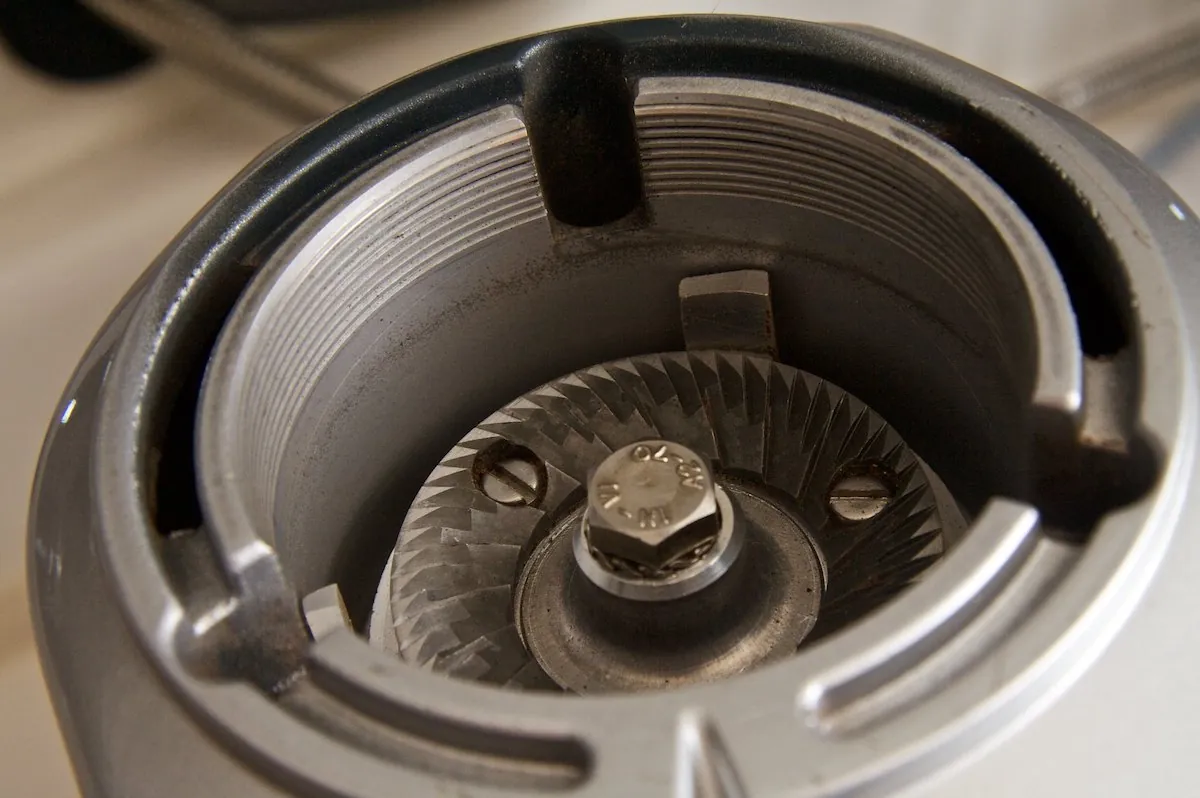
- Unscrew the adjustment collar or the top burr carrier according to your machine’s design.
- Brush the loose coffee dust out of the burr teeth and the interior grinding chamber using your stiff brush.
- Vacuum the remaining debris from the chute and the burr assembly to ensure no old grounds remain.
- Wipe the burrs and the housing with a dry, lint-free cloth to remove any stubborn oil residue.
- Reassemble the components carefully, ensuring the burrs are seated correctly before tightening the screws.
- Run a small amount of coffee beans through the grinder to “season” the burrs again after cleaning.
Careful: Never use water or soap on the burrs, as moisture causes rust and ruins the metal surface. Tip: If you find the burrs are stuck, don’t force them; check your manual to see if you need to press a release button first.
Maintenance Based on Usage
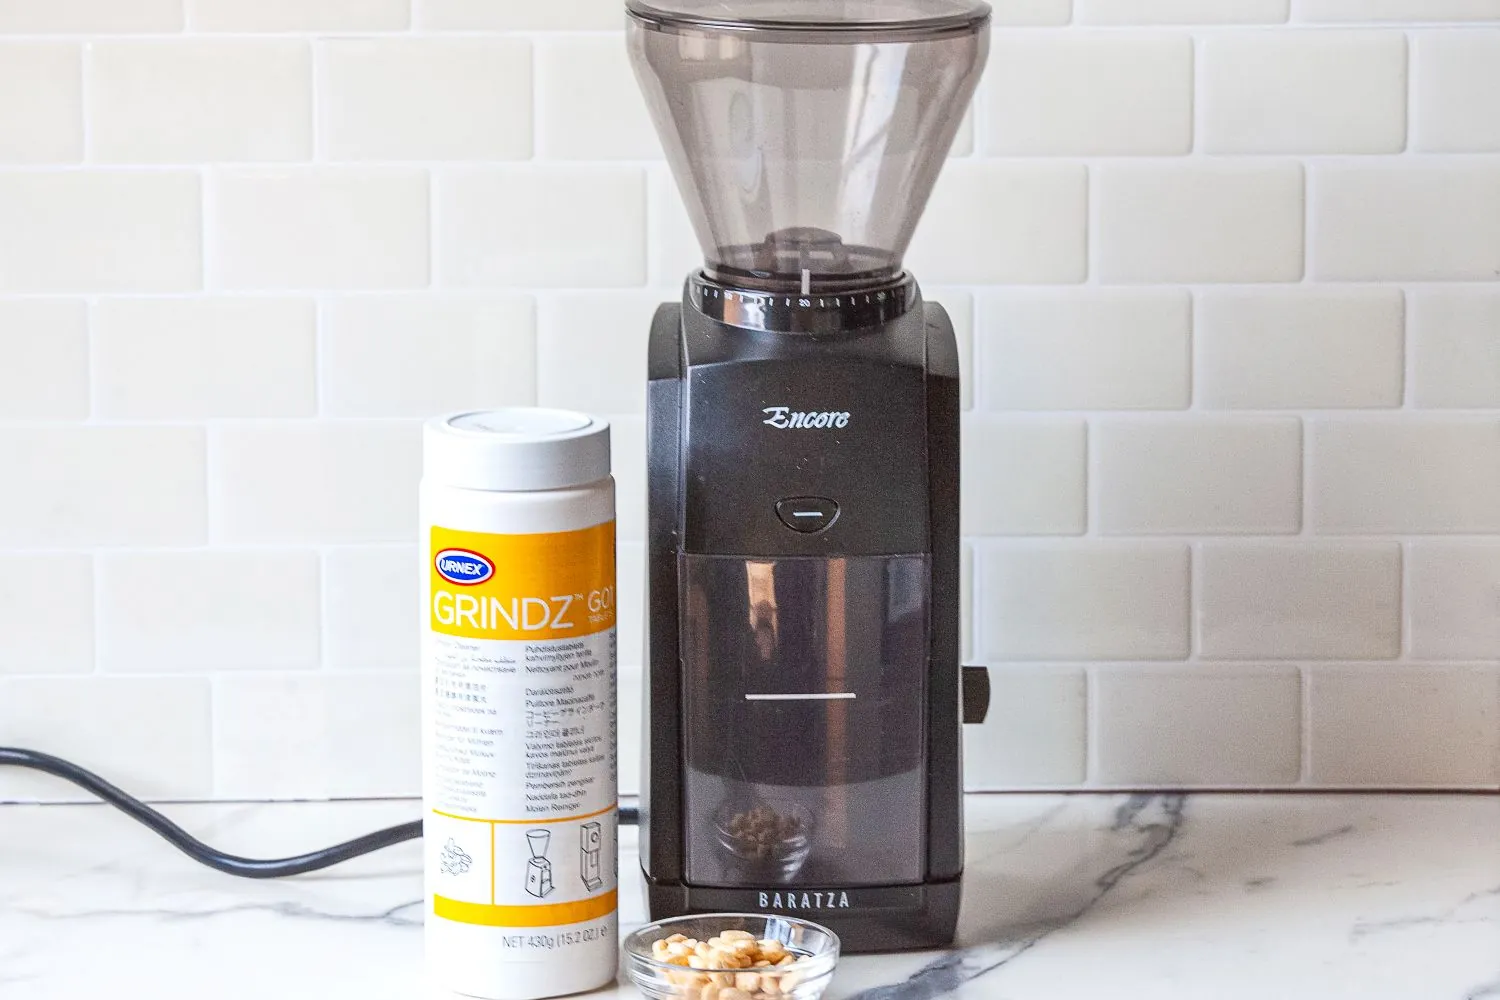
The frequency of your cleaning depends heavily on the type of roast you use and the volume of coffee you grind daily. Darker roasts contain more surface oils, which create sticky residue much faster than light roasts. If you exclusively brew oily French roast beans, cut your maintenance interval in half to prevent the internal burrs from seizing.
| Usage Level | Cleaning Frequency | What to Watch |
|---|---|---|
| Light (1 cup/day) | Once a month | Dust buildup |
| Moderate (3 cups/day) | Every 2 weeks | Oil residue |
| Heavy (5+ cups/day) | Every week | Sticky grounds |
If you notice the grind size becomes inconsistent or the motor sounds strained, clean the machine immediately regardless of your schedule. A common mistake is waiting for the machine to stop working entirely, which often indicates that oils have already hardened into a varnish-like layer. This requires a full disassembly and solvent soak rather than a simple brush-out.
If your coffee tastes sour or metallic, perform a deep clean today. If the flavor remains clean and bright, stick to your current calendar. It’s always safer to perform a quick cleaning more often than to let oils harden.
Evaluating Your Results
A successful cleaning leaves your burrs looking clean and free of dark, caked-on coffee dust. You should see the clear, sharp edges of the metal teeth without any brown film or oily sheen. If you still see dark patches after brushing, use a dry toothpick to gently dislodge grounds trapped in the tight corners of the burr teeth.
Poor results often show up as clumping grounds or a lingering bitter taste in your first cup after reassembly. This happens when oily residue is left behind, which quickly oxidizes and ruins the flavor of fresh beans. You can prevent this by taking an extra minute to ensure every crevice is completely dry and free of old dust before putting the parts back together.
If you notice a metallic tang in your brew, you likely used a damp cloth during the process. Moisture causes immediate surface oxidation on steel burrs. Always stick to dry brushes or compressed air.
Handling and Storage Rules
Once you finish cleaning, ensure all parts are completely dry before you reassemble them to prevent oxidation.
If you notice a metallic tang in your coffee after reassembly, you likely trapped moisture inside the burr chamber. Disassemble the unit immediately and leave the components in a ventilated area for at least four hours.
If you plan to store your grinder for a long time, keep it in a cool, dry place to prevent moisture from damaging the internal motor or the burr finish. Avoid storing the device in a basement or near a kitchen sink, where humidity levels consistently exceed 60 percent.
Alternative Cleaning Methods
Using Cleaning Pellets
Commercial coffee cleaning pellets are made from food-safe grains that absorb oils and clear dust as they pass through. This is faster than manual disassembly, but it doesn’t remove heavy, caked-on residue from the burr edges.
The Rice Method
Using a small handful of dry, uncooked white rice can help clear out the grinder chamber. However, rice is much harder than coffee beans and can stress the motor or dull the burrs if used too often, so use this only as a rare, last-resort option.
Professional Servicing
If your grinder has a complex internal design or you suspect the burrs are misaligned, contact a professional technician. They have the specialized tools to calibrate the burrs perfectly, which is necessary if you’re struggling with uneven grinds despite thorough cleaning.
Frequently asked questions
Can I use water to wash coffee grinder burrs?
No, you should never use water to clean your burrs. Water causes immediate oxidation and rust on the metal, which will permanently damage the surface and ruin the taste of your coffee. Always stick to a dry brush, a vacuum, or a dry cloth for all internal components.
How often should I clean my coffee grinder burrs?
You should clean your burrs every two weeks if you use oily, dark-roast beans, or once a month for lighter roasts. If you grind large amounts of coffee every day, you may need to perform this task weekly to maintain consistent performance and flavor quality.
Is it safe to use a vacuum on my grinder?
Yes, using a vacuum with a narrow hose attachment is a safe and effective way to remove loose coffee dust from the grinding chamber. Make sure the grinder is unplugged before you start, and avoid touching the burr teeth with the vacuum nozzle to prevent scratches.
Why does my coffee taste bitter after cleaning?
Your coffee might taste bitter if you left residual cleaning agents or if you did not “season” the burrs after cleaning. Always run a small amount of sacrificial beans through the machine after reassembly to coat the clean metal with fresh coffee oils, which helps stabilize the flavor.
What happens if I don’t clean my burrs?
If you don’t clean your burrs, the buildup of old coffee oils will turn rancid and create a harsh, bitter flavor in your cup. Eventually, the accumulation of grounds can cause the burrs to jam or the motor to struggle, leading to uneven grind sizes and potential mechanical failure.
Conclusion
Once you’ve put everything back together, run a small handful of cheap beans through the machine to season the metal. This simple habit ensures your next cup tastes clean and bright. You’ll really notice the difference in your morning brew, so don’t forget to set a reminder for your next deep clean.