
You can clean the internal burrs and chute of your DeLonghi La Specialista by removing the hopper and using a dry brush to clear out old oils.
Tools for cleaning your grinder
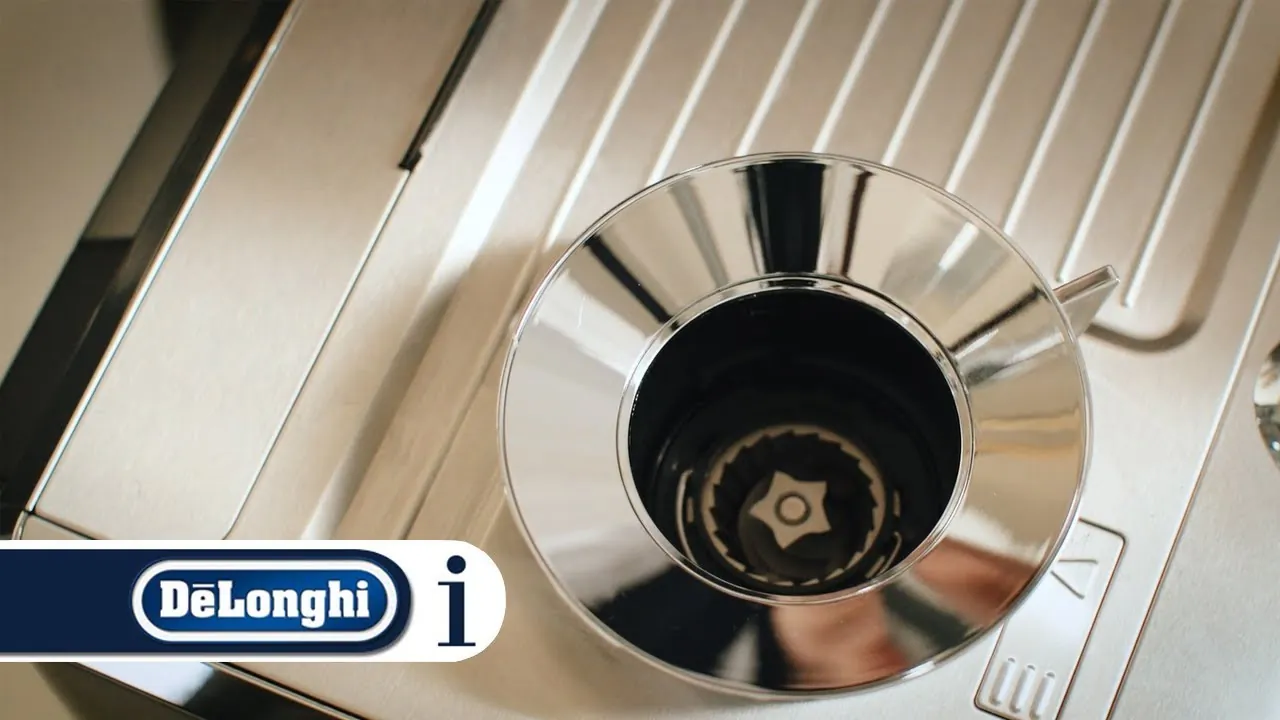
You must gather these items before you begin to ensure you can reach every part of the coffee path safely. Never use water inside the grinder assembly, as moisture causes rust on the metal burrs and leads to mold growth in the coffee chute.
| Item | How much | Why it’s needed | A substitute |
|---|---|---|---|
| Soft brush | 1 unit | Removes fine coffee dust | Clean dry paintbrush |
| Vacuum | 1 unit | Sucks out loose grounds | none — don’t swap this |
| Microfiber cloth | 1 unit | Wipes down the hopper | Clean paper towel |
| Toothpick | 1 unit | Clears tight corner debris | Wooden skewer |
Preparation before you start
- Unplug the power cord from the wall outlet completely to prevent the grinder from starting accidentally.
- Empty all coffee beans from the hopper and run the grinder until it’s totally empty.
- Place a tray or towel under the machine to catch any loose dust that falls out.
- Check the De’Longhi official support page for your specific serial number to confirm the exact burr removal steps for your unit.
- Never attempt to sharpen the burrs yourself; if they’re dull, contact the manufacturer for replacements to avoid voiding your warranty.
Steps to clean your DeLonghi grinder
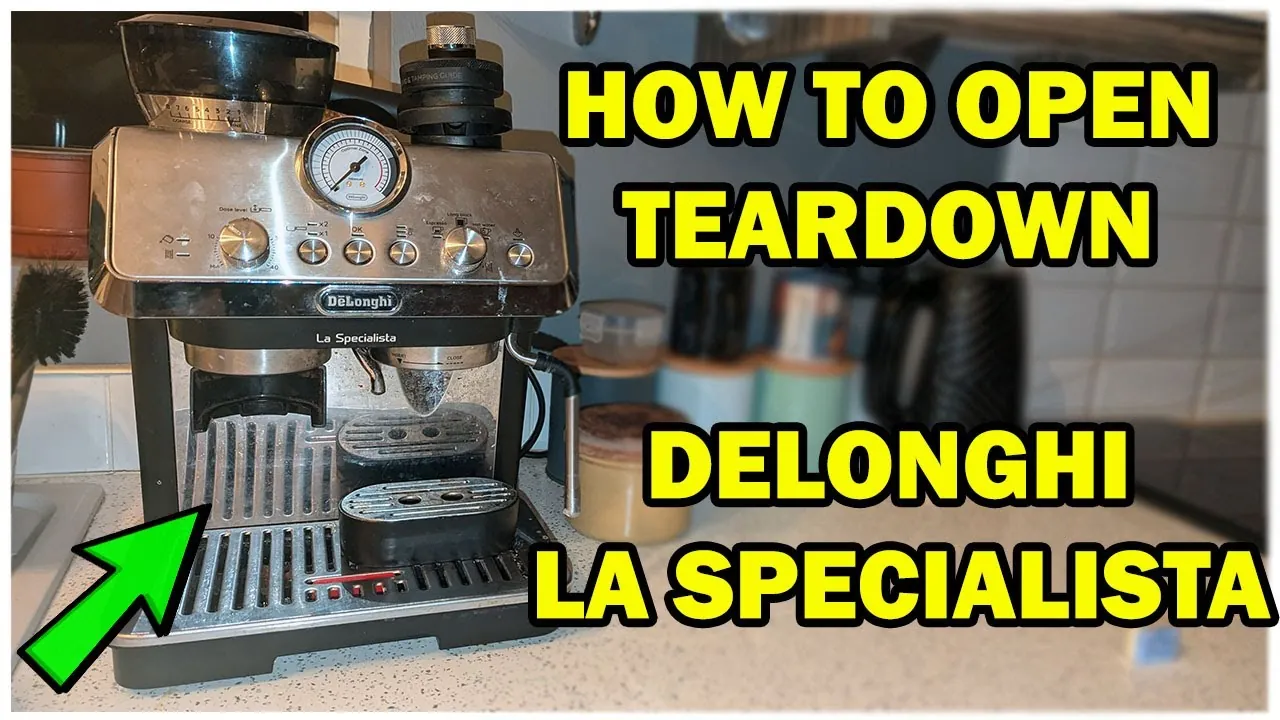
- Turn the bean hopper counter-clockwise to the unlock position and lift it straight up from the machine base.
- Use a vacuum hose to suck out any remaining whole beans or loose grounds sitting in the top of the grinder housing.
- Rotate the upper burr collar to the unlock position, usually by turning it counter-clockwise, and lift the metal burr out carefully.
- Brush the upper burr and the lower burr surfaces with your dry brush to remove the caked-on coffee oils and fine dust.
- Use a toothpick to gently scrape out any compacted coffee stuck in the exit chute where the grounds fall into the filter.
- Vacuum the area again to remove the dust you just loosened from the burrs and the chute walls.
- Wipe the empty hopper with a dry microfiber cloth to remove oily bean residue that can make your coffee taste bitter.
- Align the upper burr back into the housing, turn it clockwise until it clicks into place, and replace the bean hopper.
- Grind a small amount of coffee—about 10 grams—and discard it to clear any remaining dust before you make your first drink.
How to confirm the grinder is clean
Your grinder is clean when the metal burr teeth are free of dark, oily buildup and the chute area looks clear. If you see clumps of dark powder or smell stale coffee when you run the machine empty, you need to repeat the brushing process.
A clean grinder should produce a consistent, fluffy texture in your grounds. If the machine sounds strained or the grind size is uneven after cleaning, double-check that the upper burr is locked firmly into its groove. A loose burr will shift during use and cause the coffee to be too coarse or inconsistent.
Troubleshooting common grinder issues
| What happened | Why | What to do |
|---|---|---|
| Grinder won’t start | Power is disconnected | Plug in the machine |
| Motor hums but no grind | Chute is blocked | Clear exit with toothpick |
| Coffee tastes bitter | Old oils on burrs | Deep clean with brush |
| Inconsistent grind size | Burr isn’t locked | Reseat and lock burr |
| Beans won’t feed | Hopper is damp | Wipe hopper completely dry |
If the motor hums but the burrs remain stationary, you have likely jammed the mechanism with a rogue pebble or an overly light-roast bean. Don’t force the power switch, as this risks burning out the motor winding. Instead, unplug the unit and manually rotate the adjustment collar to the coarsest setting to release the obstruction.
If your grind consistency drifts over time, check the burr carrier for fine coffee dust buildup. Even a thin layer of compacted grounds prevents the burr from seating flush against the housing. This misalignment creates a “wobble” that ruins extraction uniformity.
If you notice the grind size shifting while in use, the locking nut has likely vibrated loose. Apply a firm clockwise turn to the collar until you feel a distinct mechanical click.
How often to clean the grinder
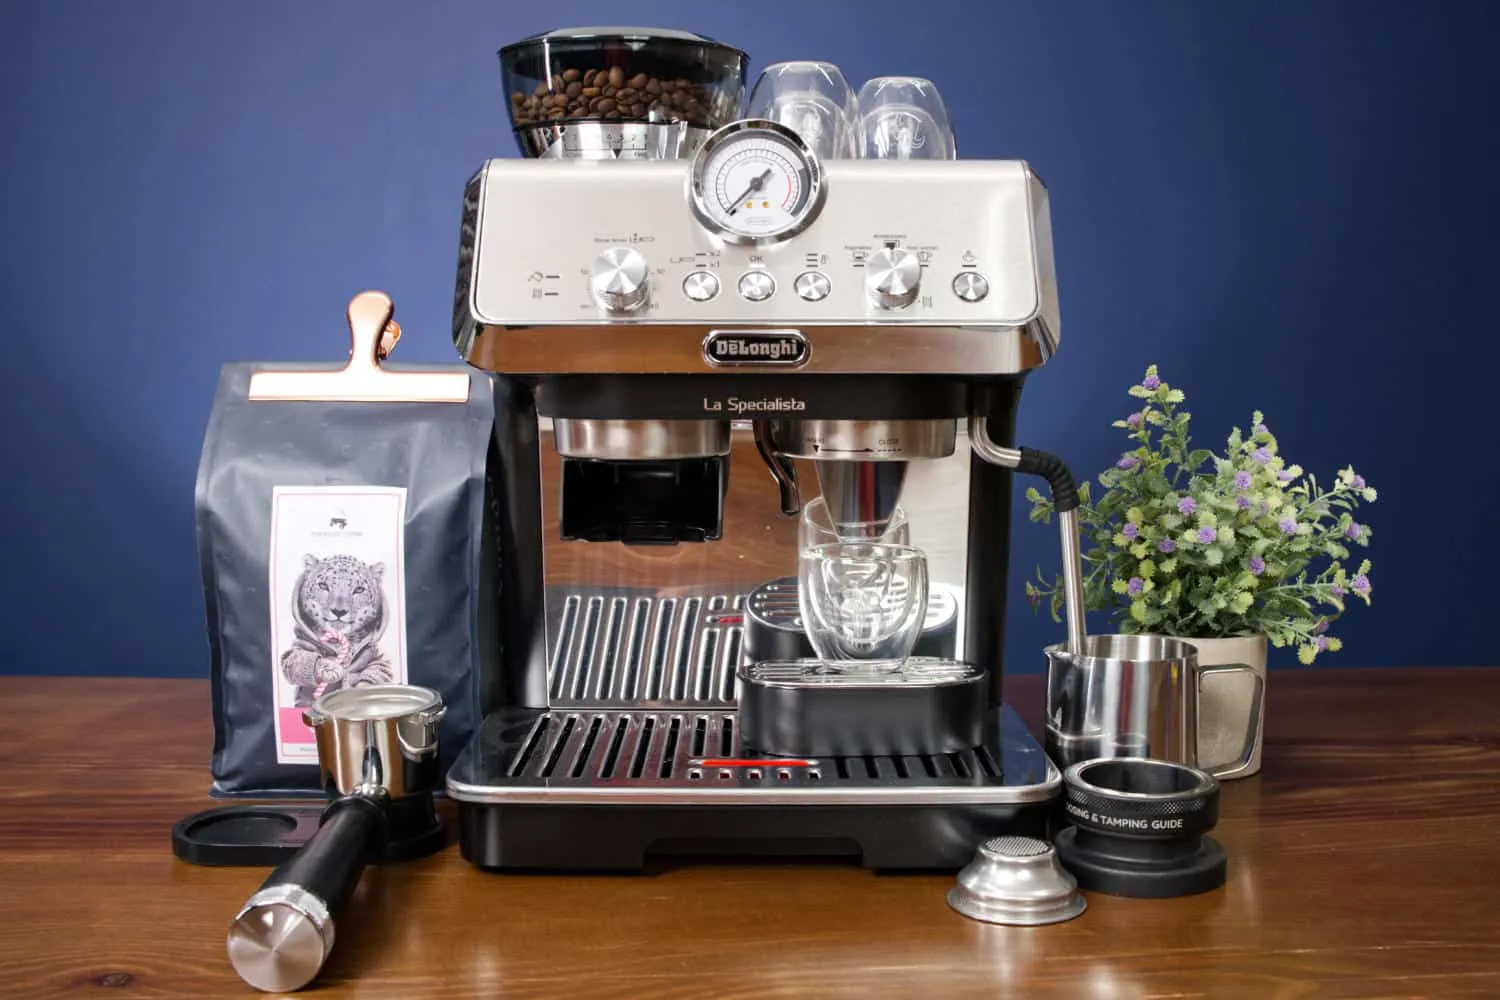
You should clean the grinder every 2 to 4 weeks to maintain the best flavor in your espresso. The frequency changes based on how much coffee you brew and the type of roast you use. Dark, oily beans leave residue much faster than light roasts, so you’ll need to clean more often if you prefer dark espresso blends.
If you notice your coffee taste is changing or the flow rate of your shots becomes slow, clean the burrs immediately. Following this schedule prevents oil buildup that can cause beans to stick in the hopper or chute.
Related guides
- Cutting Pipe With Grinder: Expert Tips for Precise, Clean Cuts
- How to Use a Coffee Grinder? Expert Tips for Perfect Coffee Every Time
- How Much is a Coffee Bean Grinder? Affordable Options Revealed
Frequently asked questions
How long does it take to clean the grinder?
It takes about 15 minutes to fully clean the grinder if you have all your tools ready on the counter. This assumes you’re performing a standard maintenance clean of the hopper and burrs. If you haven’t cleaned the machine in several months, you might need an extra 5 minutes to clear stubborn, dried-on oils from the chute.
Is it safe to use water to clean the burrs?
No, it isn’t safe to use water because moisture causes the metal burrs to rust and promotes mold growth inside the machine. Always use a dry brush and a vacuum to remove coffee grounds. If you accidentally get water inside, leave the hopper off for 24 hours to ensure the interior is completely bone-dry before you use it again.
What happens if I don’t clean the grinder?
Old coffee oils will turn rancid over time, which gives your fresh espresso a bitter or burnt flavor that can’t be fixed by changing beans. The buildup also causes fine dust to clog the exit chute, which forces the motor to work harder and may lead to uneven grind sizes. Regular cleaning is the only way to avoid these flavor issues.
Can I use a metal tool to scrape the burrs?
No, you should never use a metal tool because it can scratch the precision surfaces of the burrs or dull the cutting edges. Use only a soft brush or a wooden toothpick to remove debris. If the buildup is too hard for a brush, use a dry, soft cloth, but never force a sharp metal object into the grinding mechanism.
Does the grinder need a specific setting after cleaning?
No, the grinder should remain on your previously set grind size as long as you locked the upper burr back into the original position. If you removed the adjustment collar, ensure the dial is set back to your preferred number before you fill the hopper with beans. Always check the grind quality by pulling a test shot after maintenance.
Why is my grinder making a loud noise?
A loud noise often means there’s a hard object like a stone or a piece of debris stuck between the burrs. Stop the grinder immediately, unplug it, and remove the hopper and upper burr to inspect the space for foreign objects. If you can’t find anything, contact the manufacturer to see if the motor or bearings require professional service.
Conclusion
Maintaining your coffee grinder is a simple habit that ensures every shot of espresso you pull tastes exactly as it should. By keeping the burrs free of old oils and ensuring the chute stays clear, you protect the machine’s motor and keep your coffee flavor clean and bright every single morning.